2019 run the Engine
After oil- and oilfilter was changed there was no oil pressure. Then i dismanteled and cleaned the oil pump, checked the condition/surface of the connection rod bearings, and its crank pins and also condition of distribution chain – seemed all well – then after remounting and running the starter oil pressure came back as if never something was wrong.
But the compression had verry low values – only 4-5 bar
After running the the engine several times the compression values rise and at the end with 2-3 hours operation time, it reached nearly 10 bar 🙂
Maybe the compression rings was stick in its notches over the 20 years out of operation.


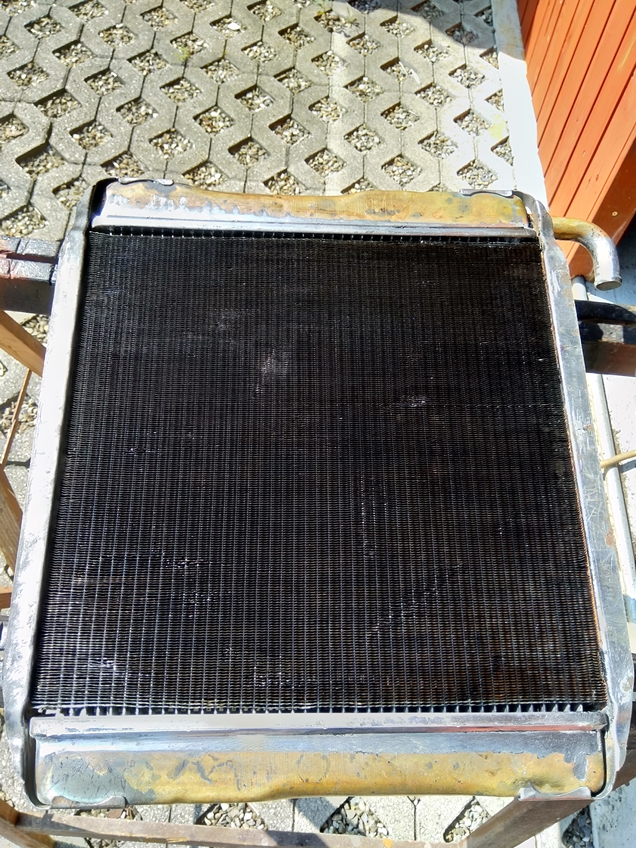
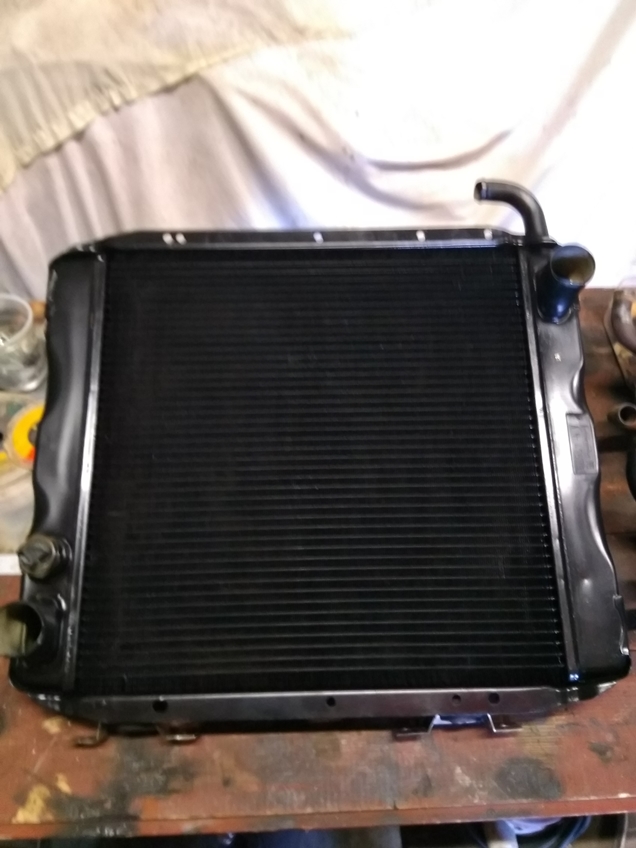
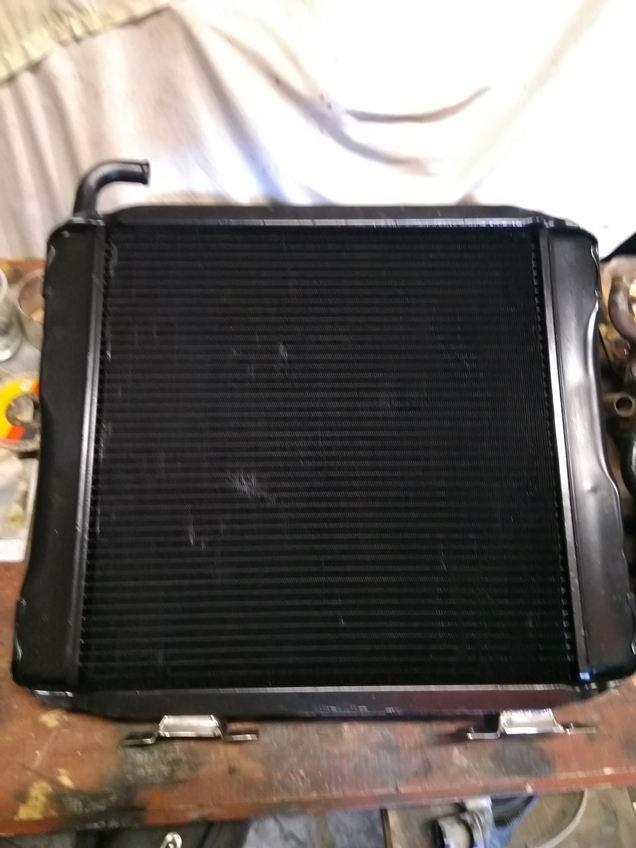
Big Radiator
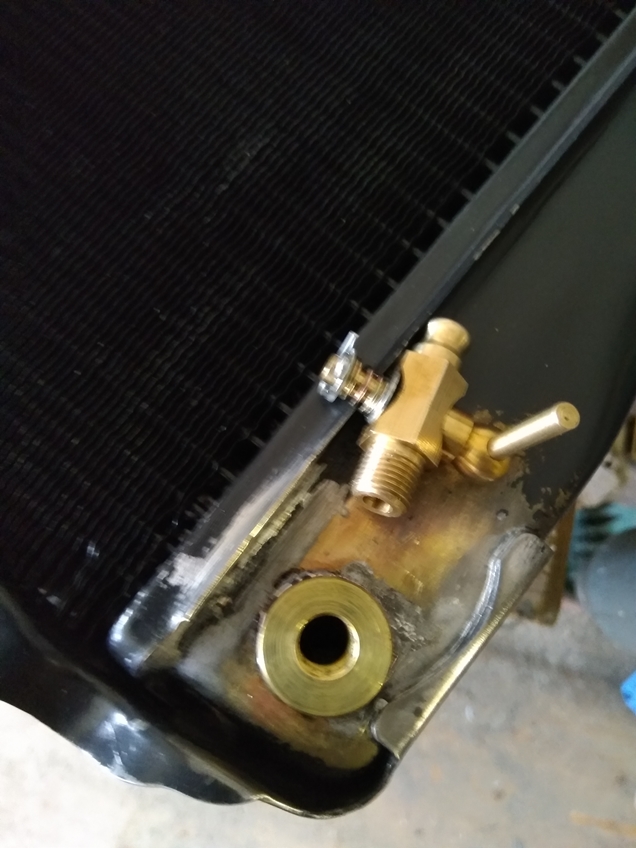
The big radiator was mounted from models 1976 on – with an brass drain valve (M10x1mm thread)


2023, Louise with R5 camshaft
The Louise always ran reliably, but from 80 kmh it became really tough – more than V-Max = 90 was not possibe. The idea was to have a more turns-loving Louise.
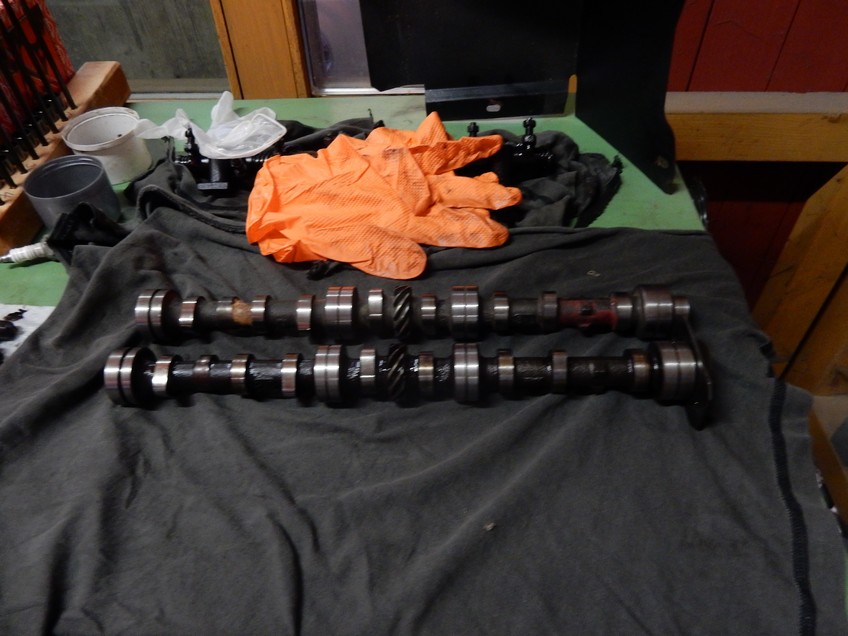
An R5 camshaft was found on leboncoin. fr – it has almost the same timing as the Renault R12TS, but slightly less leverage
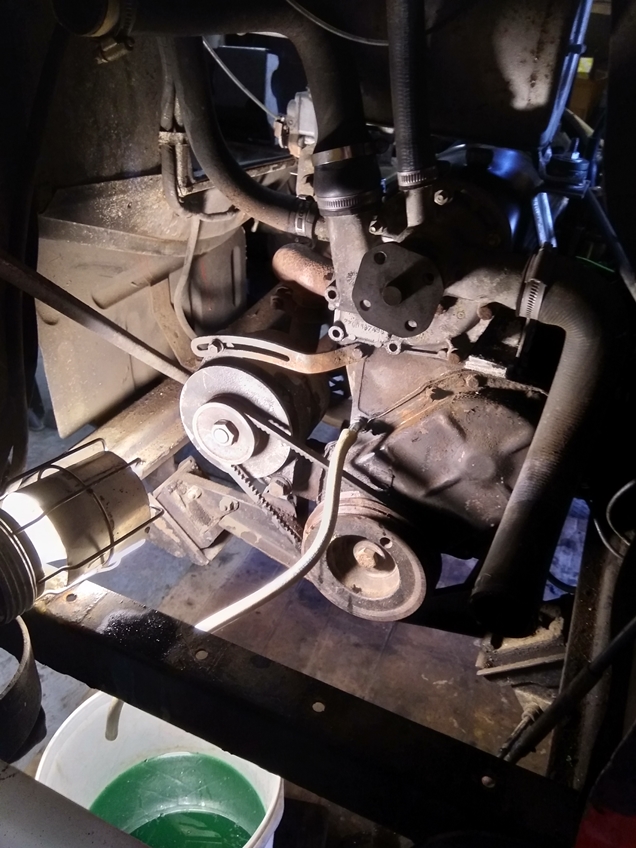
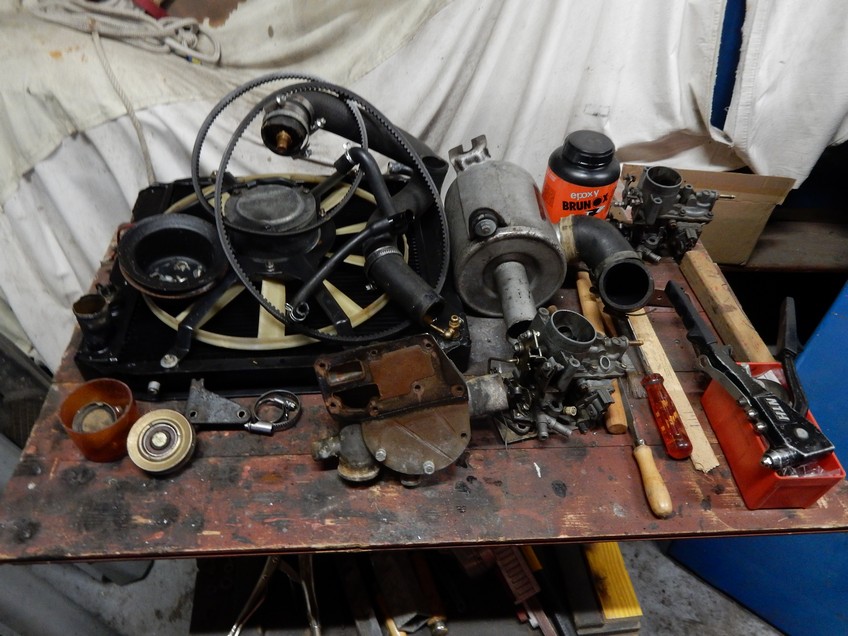
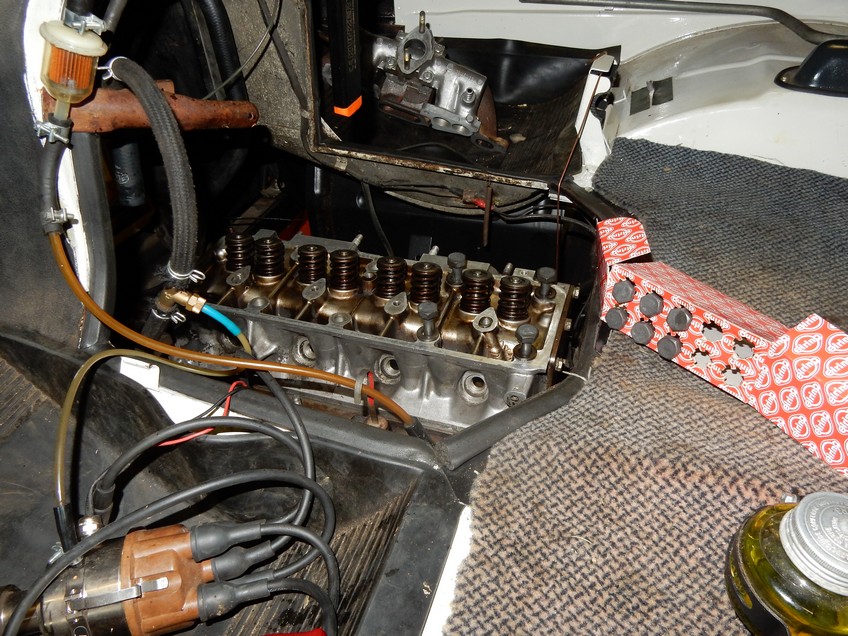
Dismantling
Changing the head with built-in engine is quick and easy, but if the camshaft is to be changed, a car lift is of course very helpful – the radiator, oil pan and timing cover have to be removed
Thanks to the valve in the radiator, the cooling water can be drained without splashing – if only the collecting container on the floor had been w/o a leak 🙂
After that, of course, drain the engine block!
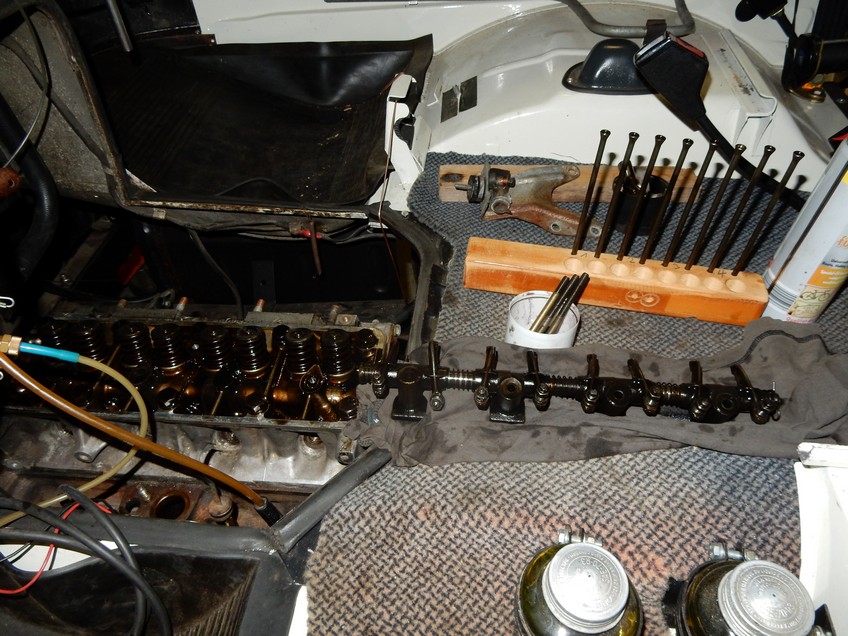
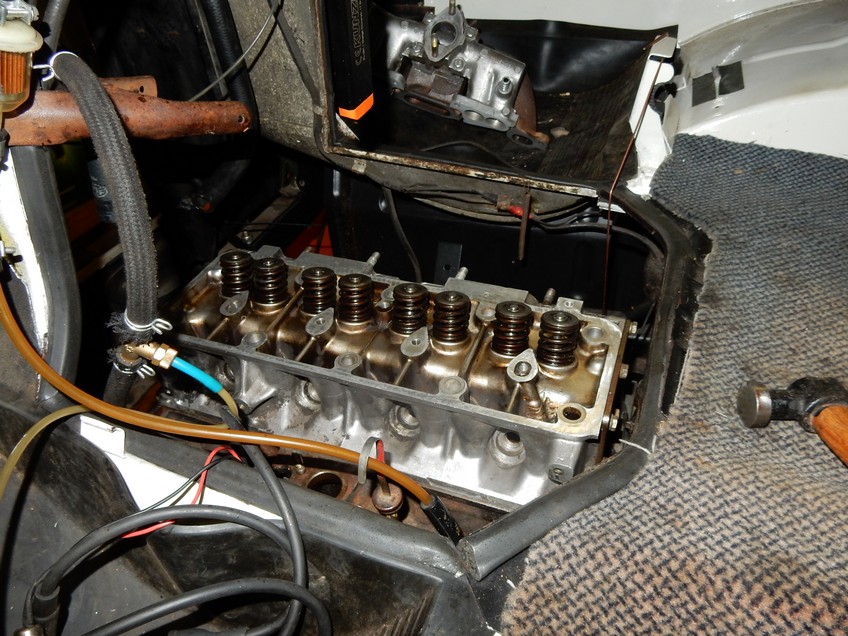
Cylinder 1 to TDC, remove ignition distributor pinion (the pinion has an M12 normal thread), loosen rocker arms, loosen rocker arm shaft and remove . remove push rods
Loosen the head screws – about 1-2 turns, loosen the head & gasket with a piece of wood and hammer, remove the screws, unscrew the head, turn the head and after that lift off completely. remove tappets.


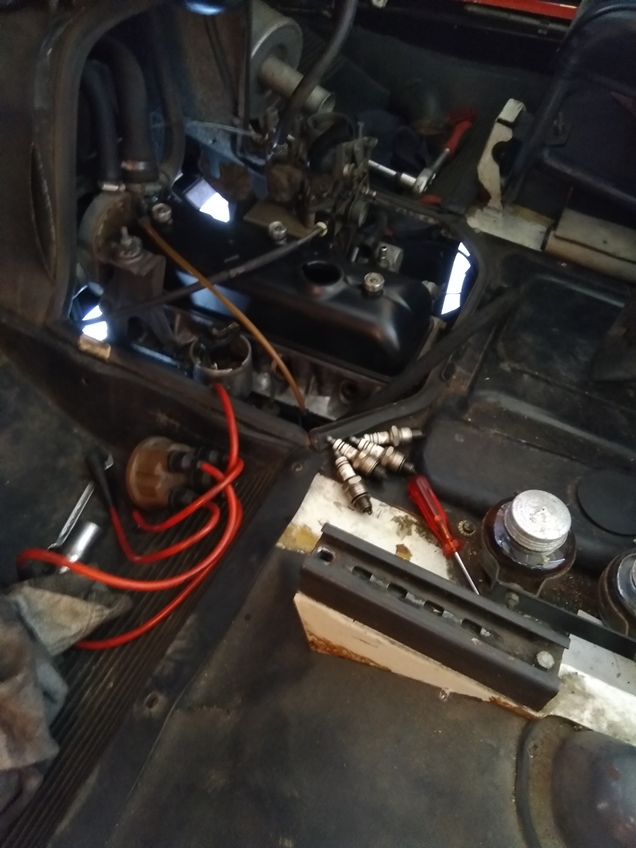
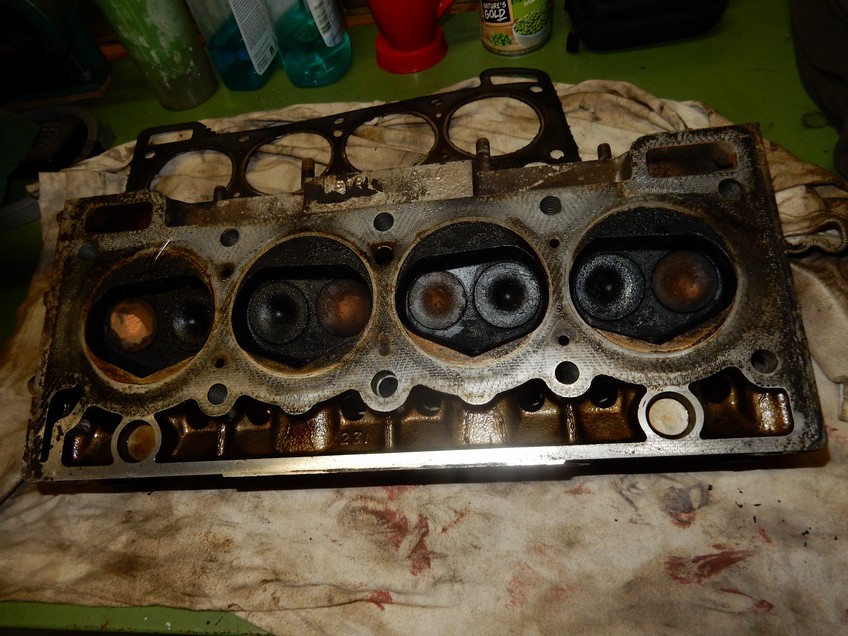
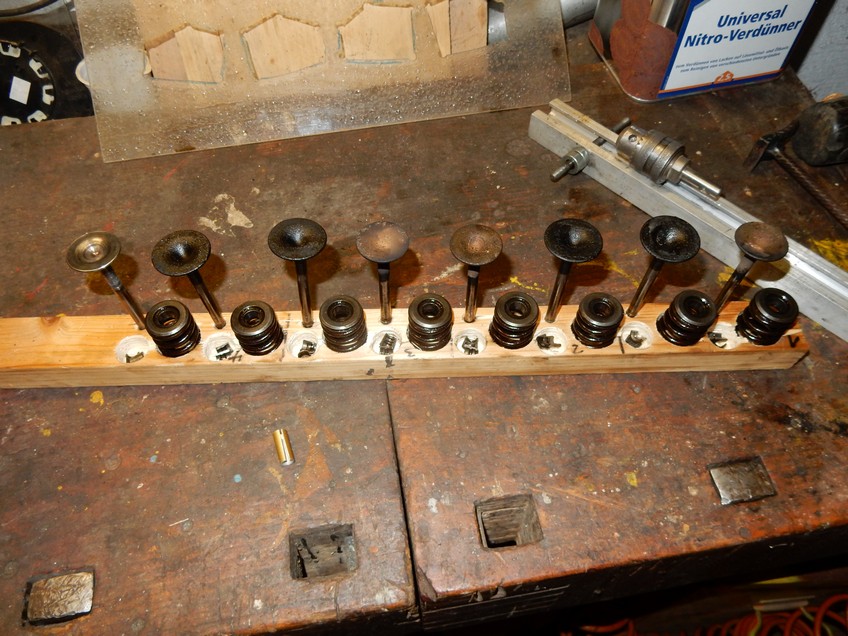
Head & Valves
The head height was Estafette standard – with approx. 74. 2 mm. First disassemble all valves and check head. Louise’s head was not quite flat – so sometimes she had a bit too hot!
A mechanical workshop near me cut Louises head to 72. 2 mm
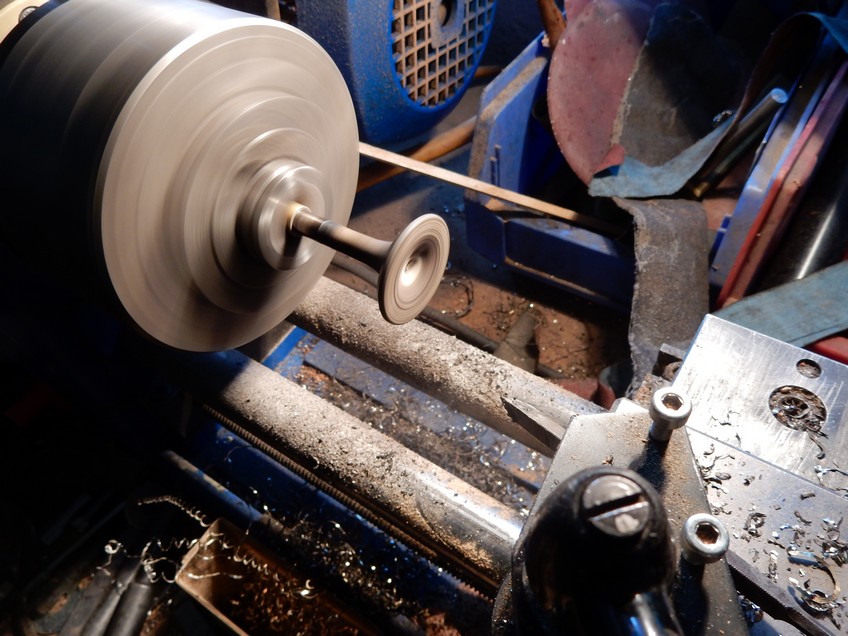
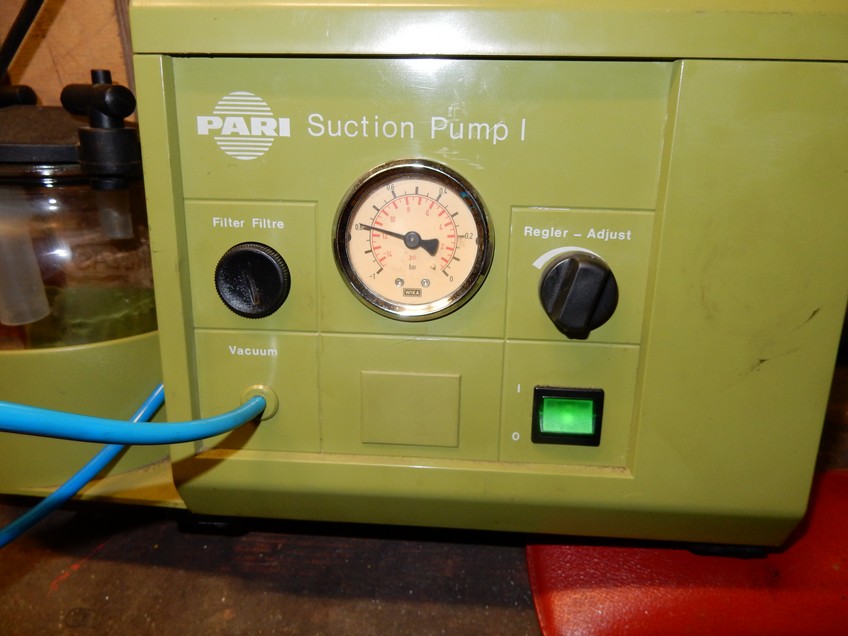
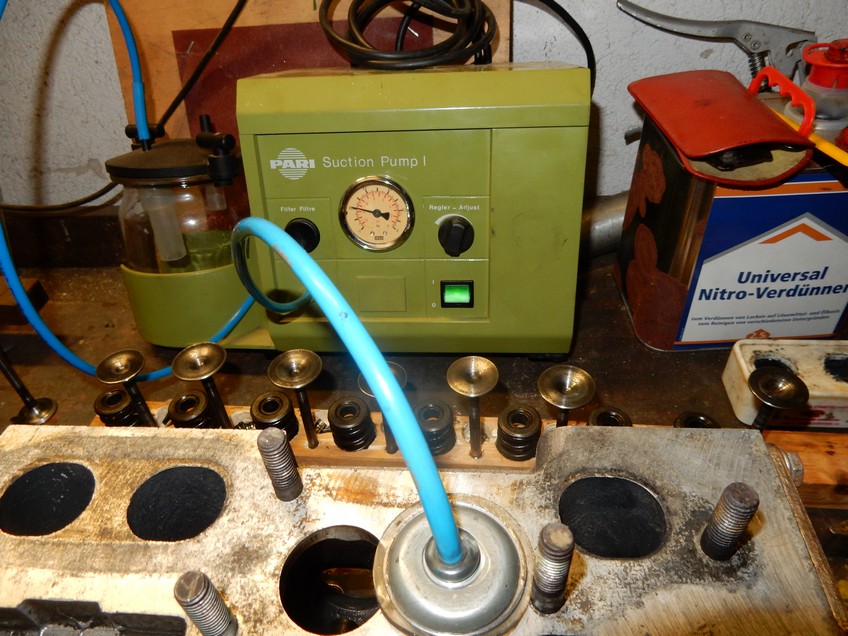
After that clean and grind all valves – cost me a whole morning despite vacuum pump (or maybe just because of that 🙂 )
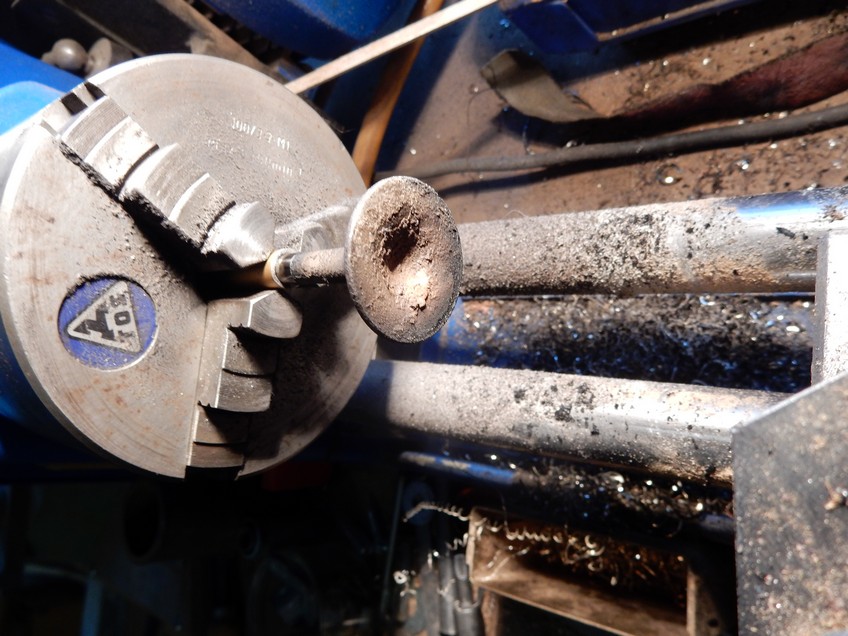
Cleaning the valves on the lathe is easy with emery cloth grain 100 – the material of the valves is so hard, you can hardly mess up anything. Many of the valve sealing surfaces had a small “belly” (slightly concave), which I also straightened with the 100′ emery cloth and a small flat file.
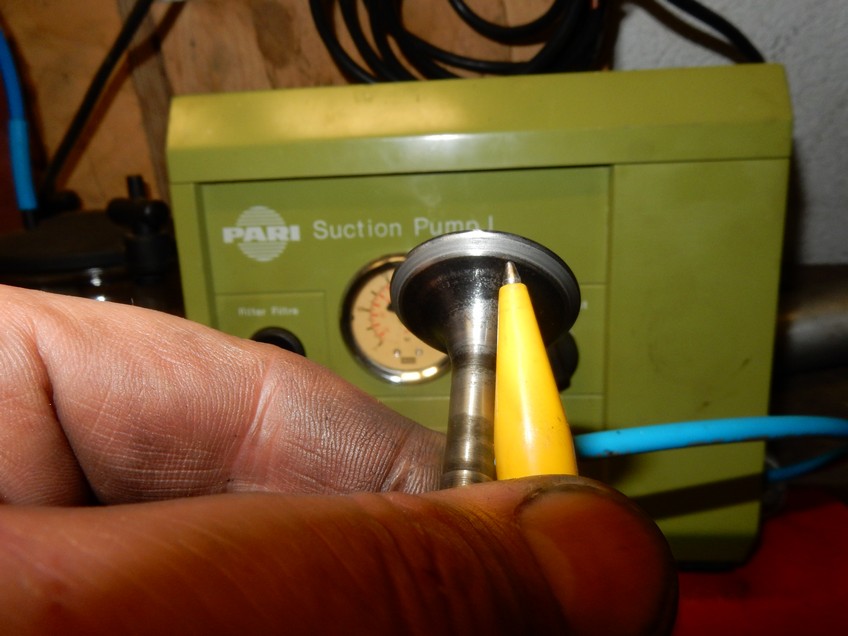
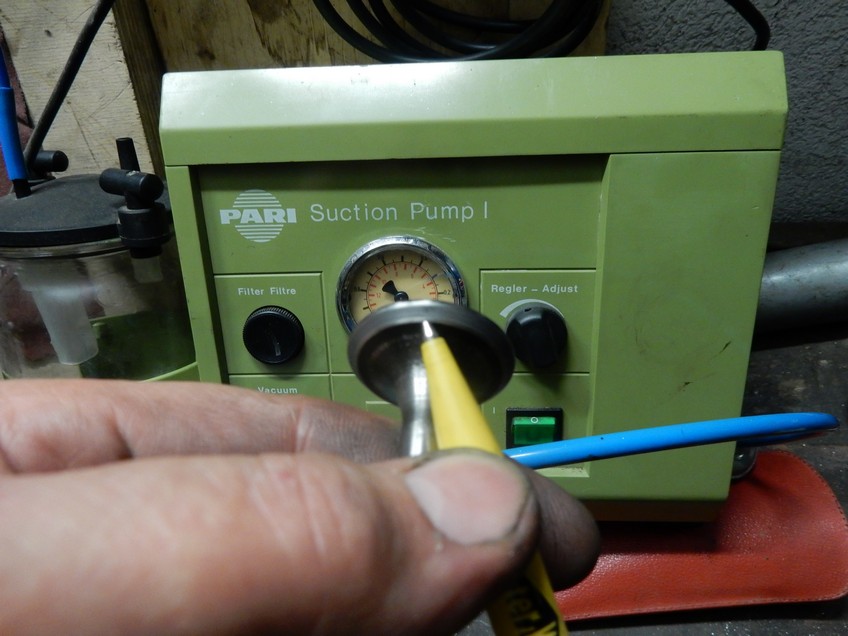
Instead of the valve grinding suction cup, I always use an old Hilti drill head – this works very well (something like grinding from the rear).
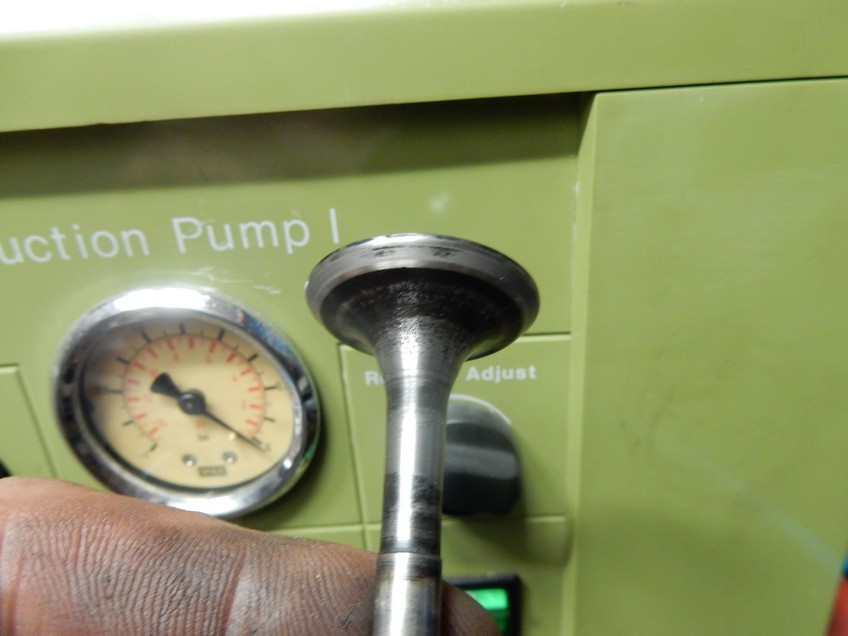
During the vacuum test I tried to get the same value as if the suction cup is set on a flat clean surface (i. e. value gets approx. -0. 8 bar)
Some valves had burn-in markings (dark shadows on the valve sealing surface) – here, rework on the lathe was necessary until the tightness was satisfactory.


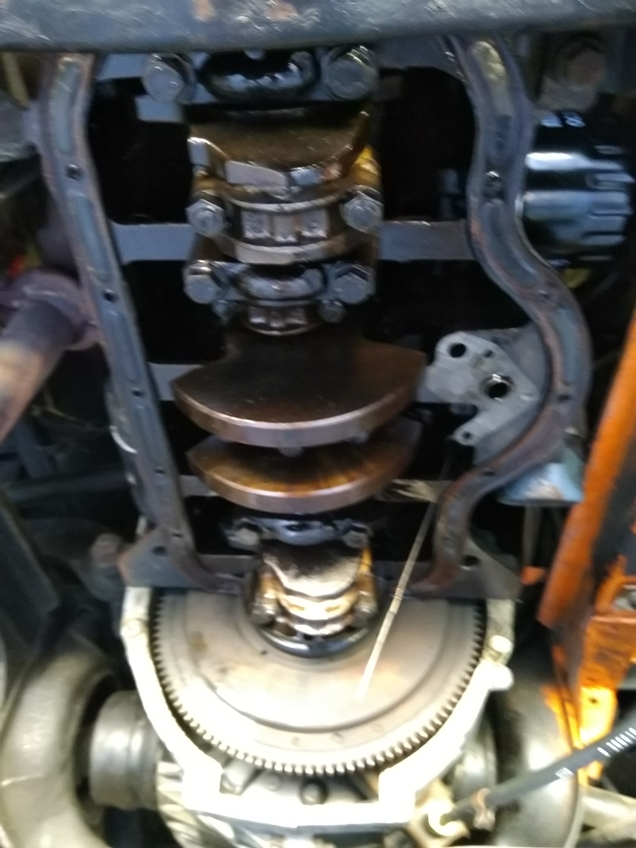
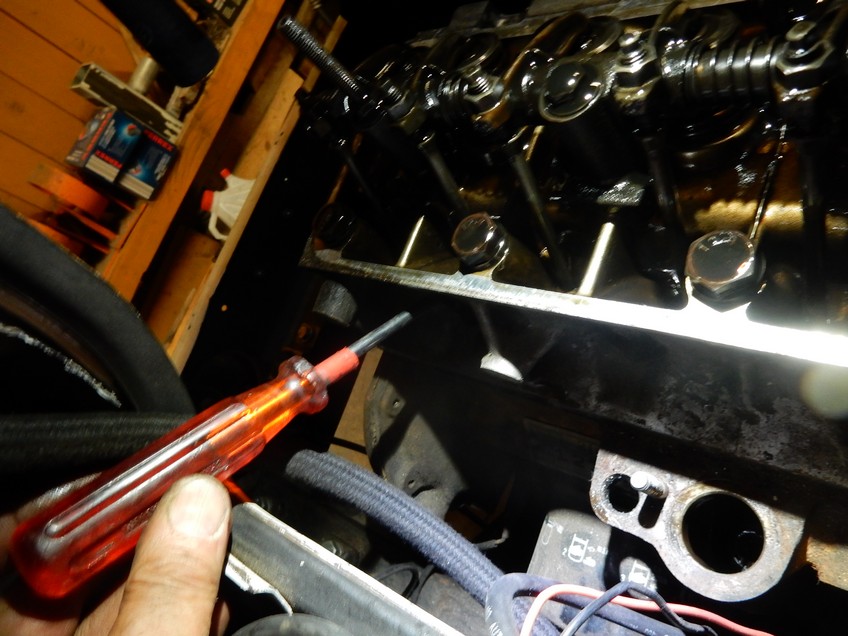
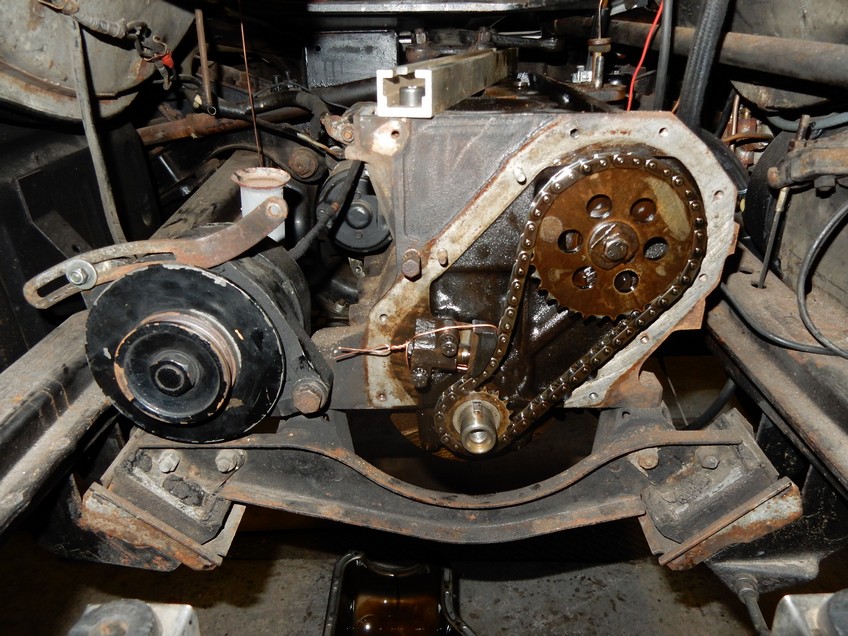
Camshaft
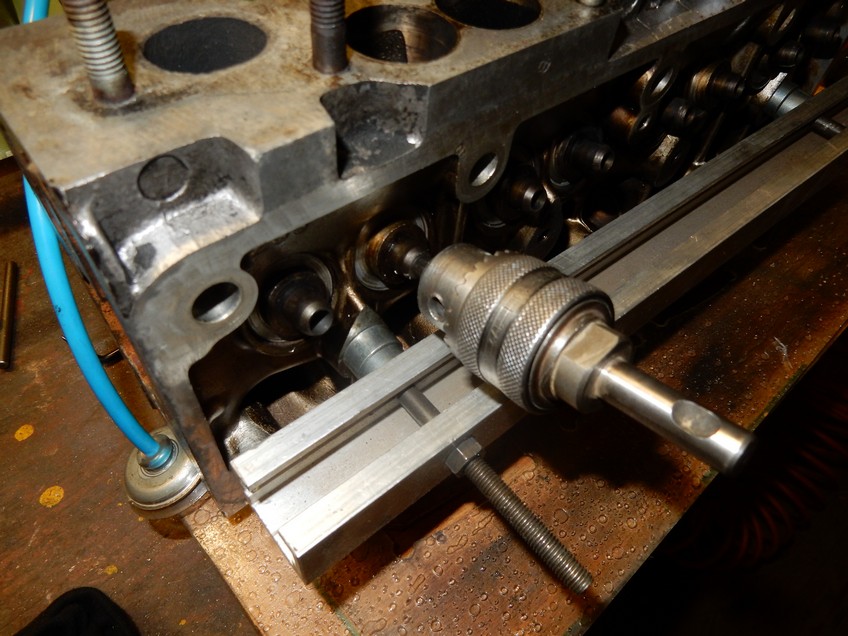
Before disassembling the camshaft, I tied the chain tensioner together with a piece of welding wire.
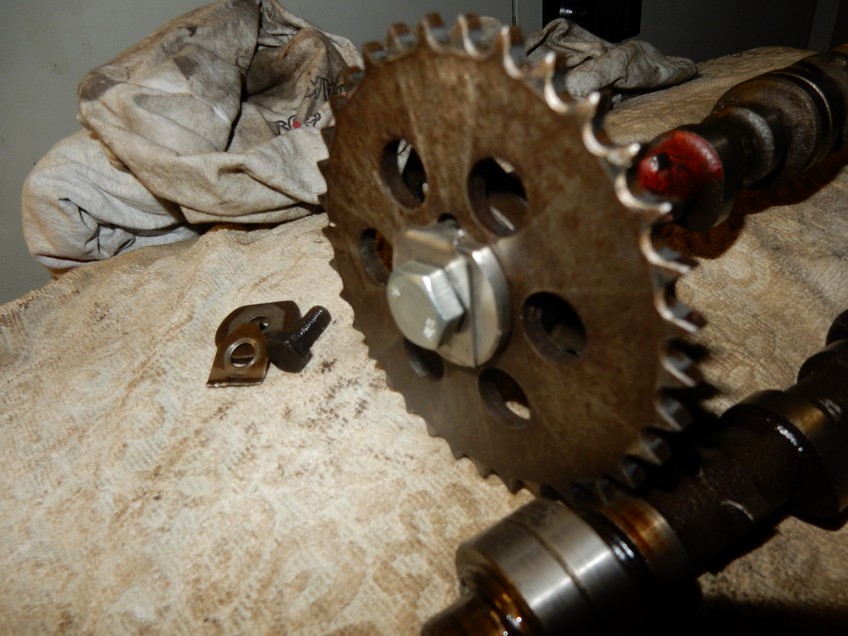
After opening the lock plate, the fixing screw can be loosened easily with
the ring wrench and twoo, three hammer blows, after that the timing wheel can be lifted off (please take off the Woodroff wedge and put it away, otherwise it is easily lost). After that the camshaft can be pulled out. The new camshaft is from a more recent production and has a larger thread for the timing wheel – here I have made a igger washer and a lock plate.
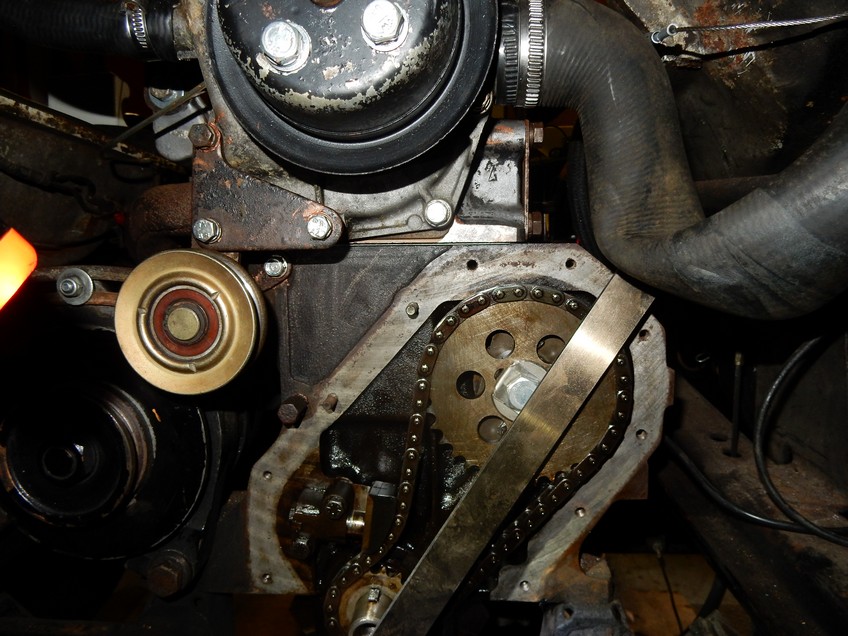
Adjusting the camshaft is easier than it looks.
The markings (stamped point or arrow) on the two timing wheels must be on a line – it doesn’t matter if the mark on the bigger timig weel is on the top or bottom – (one crankshaft turn = 180° on the camshaft).
But it is important that the chain is tightened on the pulling side (the direction of rotation of the motor is clockwise – viewed from the front )


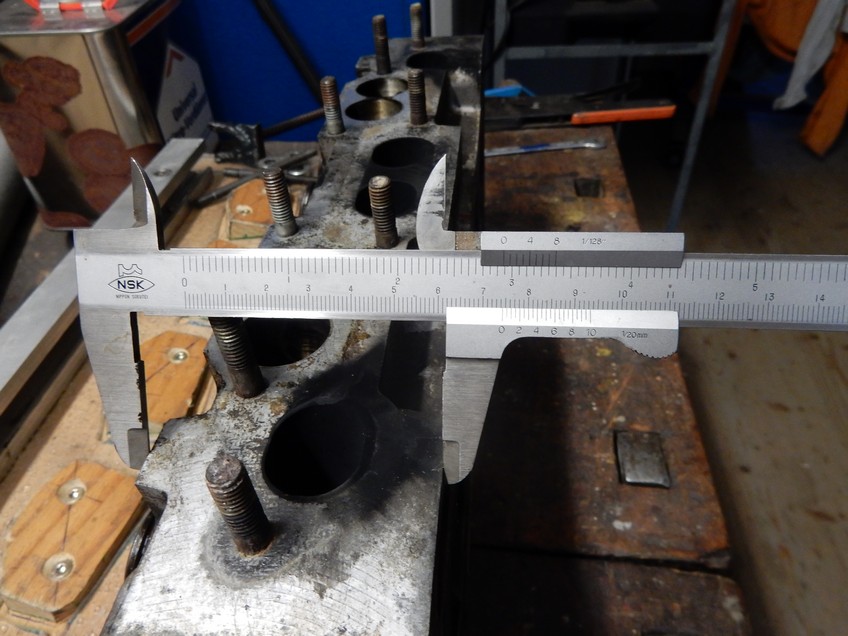
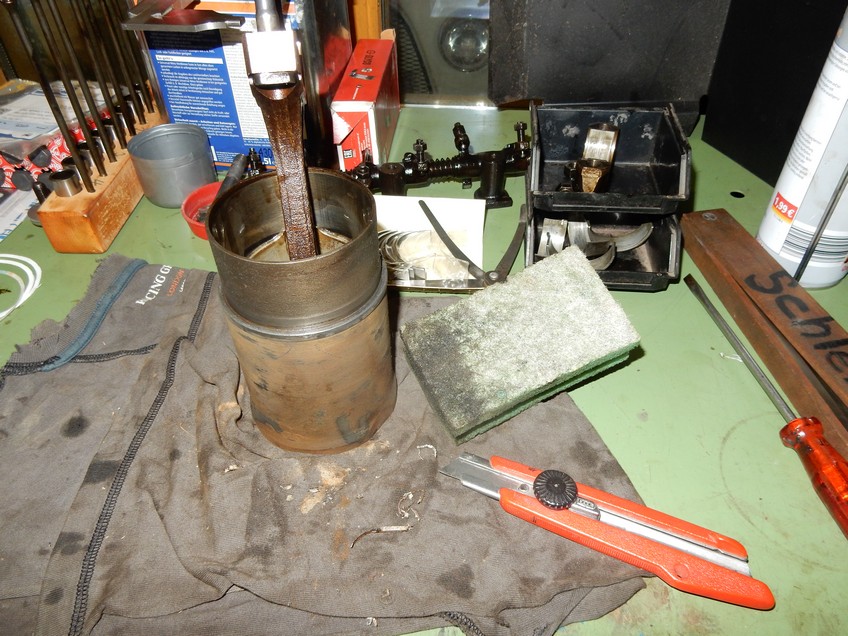
Cylinder Bushes
Oil pan and timing cover were already mounted again, at that point I remembered that I had not checked the overhang of the cylinder bushes.
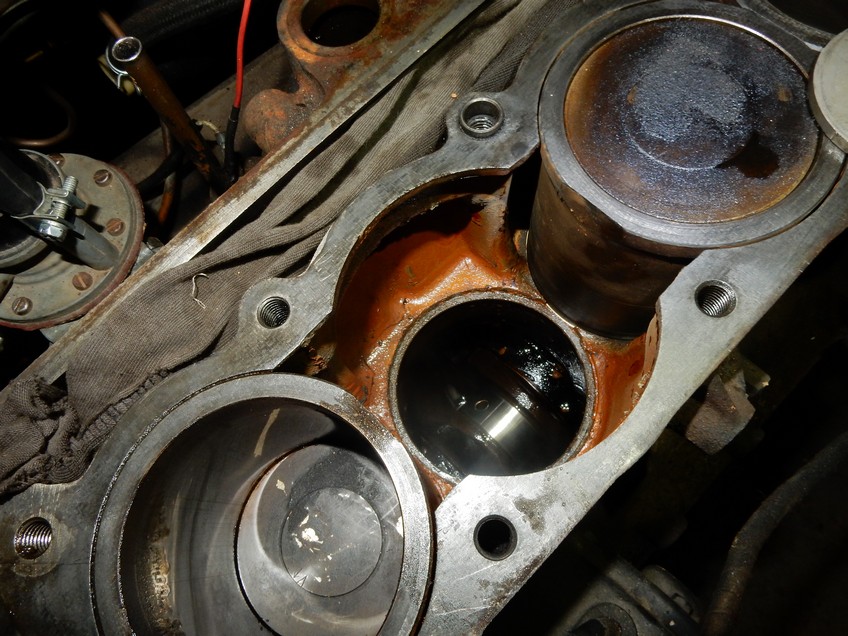
It was as feared – the front two cylinders had zero and the rear two only just “0.02”mm or “0.03”mm overstand – So i had to disassemble the oil pan and timing cover and reset the cylinder bushes.
Good because the connecting rod bearing shells of the second cylinder anyway had a damage – so change all connecting rod bearings immediately.
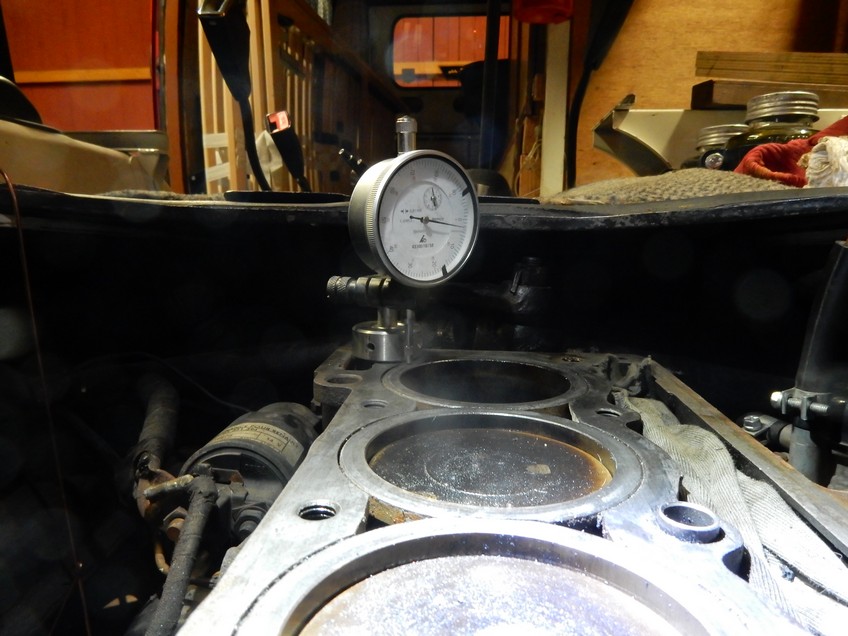
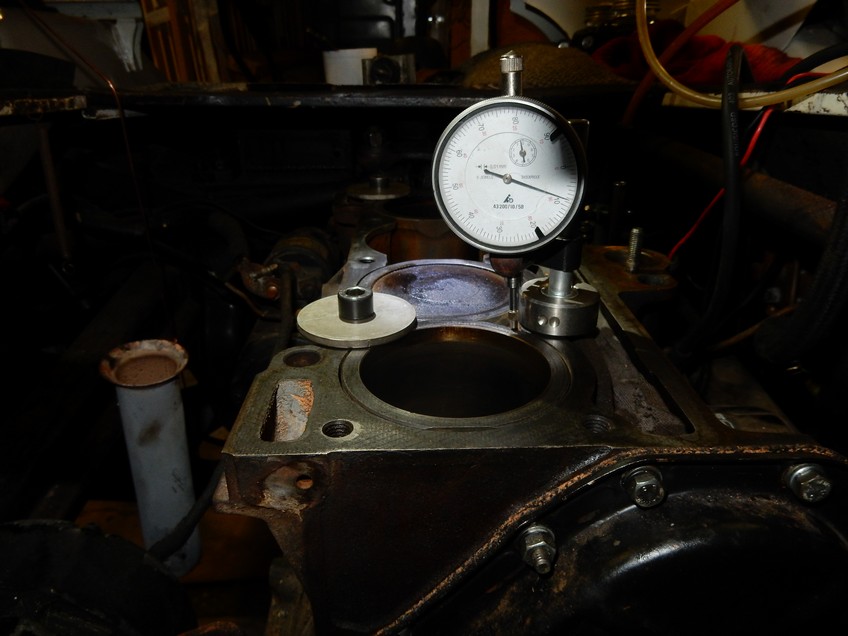
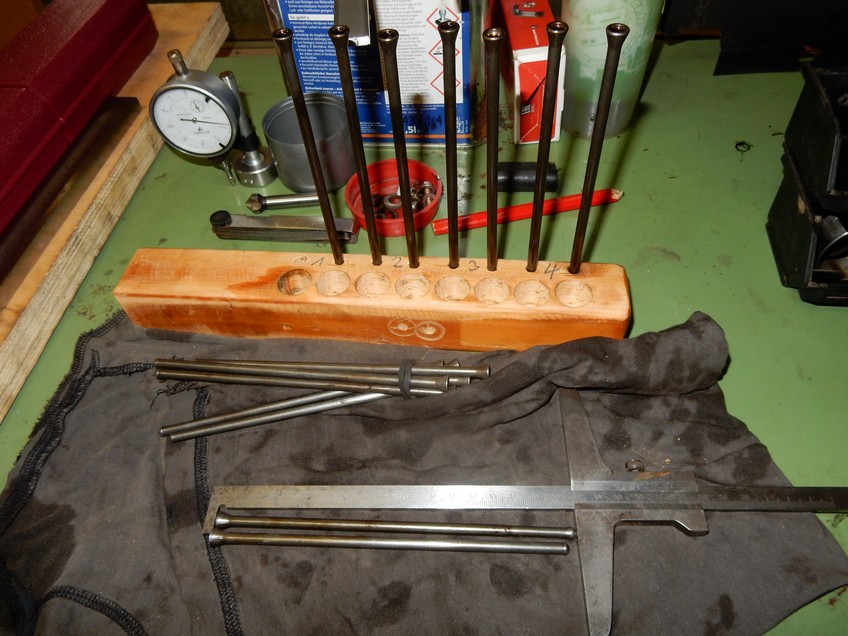
Testing the overhang, one has to pay attention that the cylinder bushings are nicely straight on.
I tested with ruler and blade gauge (“0.05”, “0.1” and “0.15” mm).
And at the end i checked with the dial gauge


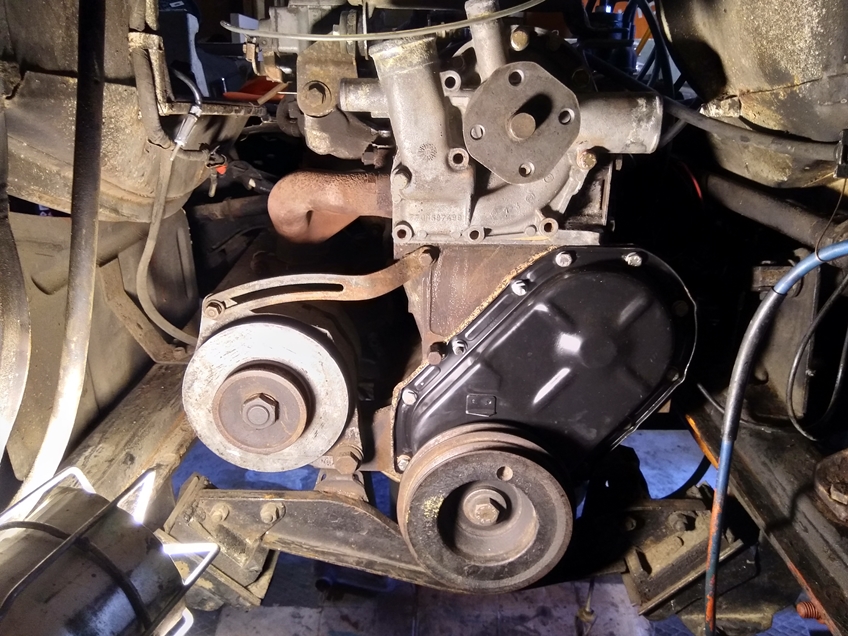
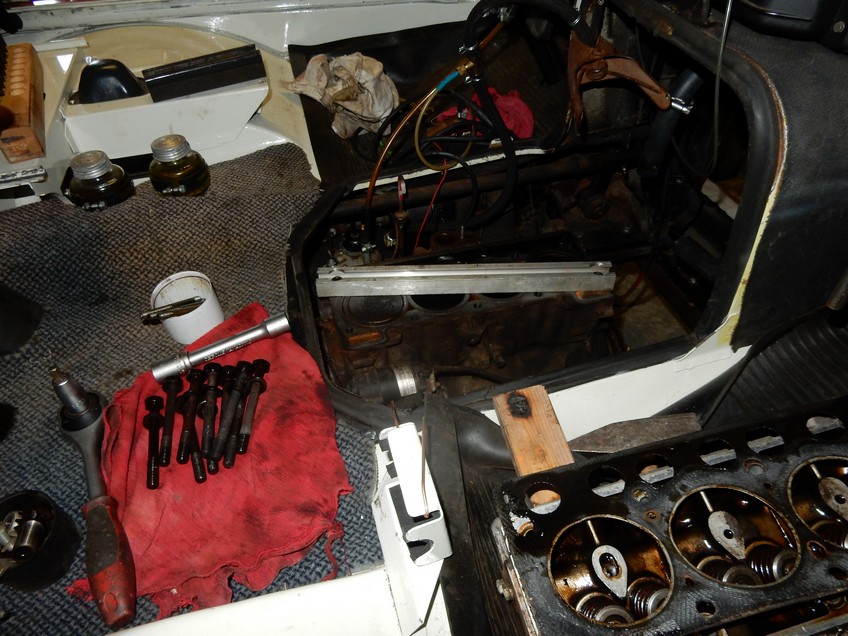
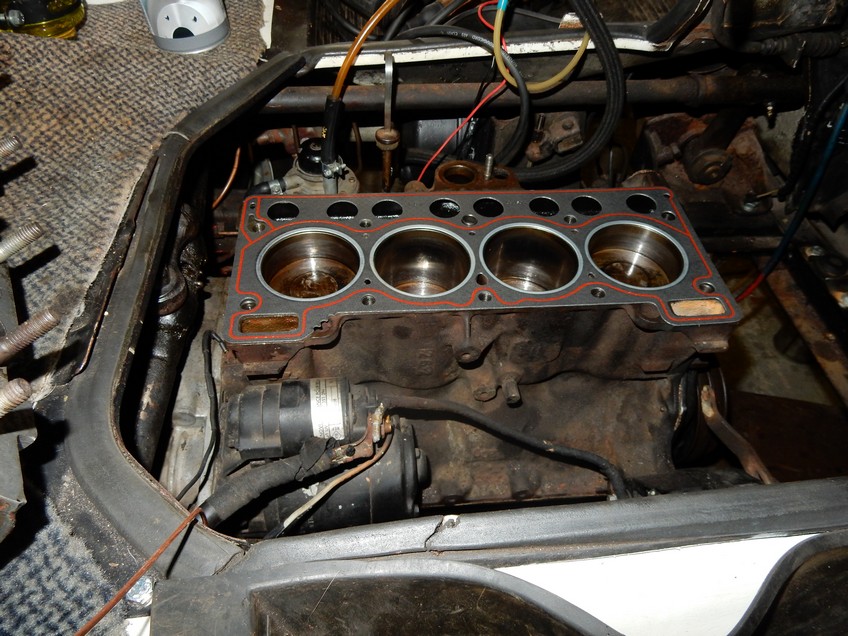
Head
Assembling I noticed that my old torque tool does no longer properly trigger and the applied torque is so uncontrollable. So I had to buy a new one – it is now reserved for the exact work 🙂
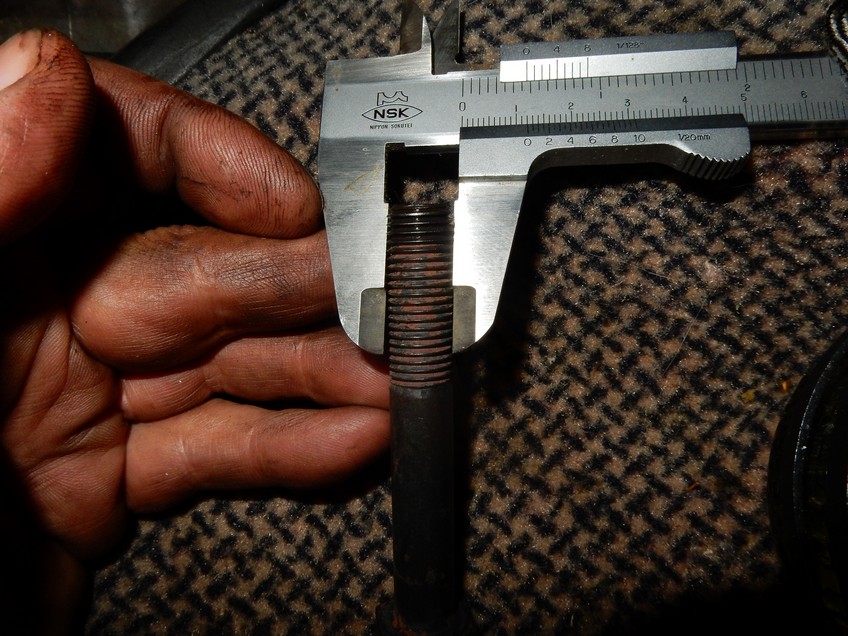
The Cleon engines pushrods were produced in 3 different lengths. Contrary to expectations, however, the original – with approx. 177 mm slightly longer bumpers, fit better here.
Tip for the first rocker ajustment : by inserting a wooden rod approx. 5×5 mm each cylinder can be individually adjusted without the other pushrods being jammed when turning the crankshaft.


Result
The engine characteristic is now similar to the Couchette – only that the Louise is at least 500 kg lighter and can be driven accordingly more dynamically. It is easy to swim along in modern traffic without being an traffic obstacle. Highway with 100 cruising speed is easily possible. The engine doesn’t feel a bit overworked.
The carburetor is a Solex 32 DIS with a slightly larger main nozzle (107. 5 instead of 105)